Monday, June 30, 2014

Painted Beach a Votive Jar

Painted Beach Votive Jar 
 (No Silhouette needed!)


I got this idea from a jar made by sisters-in-law, Kerri and Julie, of SnippetsofCreations, and I was excited to put my stamp on the whole painted jar trend that is all over blogland. I posted about it as it came to me, and I'm probably going to do that a lot. My intent is to transform my home and use this blog to keep ideas and motivation flowing. I may not have the time, energy, or desire to follow through with every idea I share. 


Painted Beach Votive Jar Tutorial

First you need a jar. For both shape and content deliciousness, let me suggest this. This jar does come with salsa or queso which are also rather tasty. I like the wide mouth and the height of this jar. Ball jars are great, but it's easier to escape 3rd degree burns with a Tostitos jar, and I can still use my Swan Creek votive candles instead of tea lights.

 Of course, this step necessitates this one:
 (Substitutions allowed)


and this
  and, finally, this one...

Now that you've had breakfast (and washed the jar), you're ready to go!  

You need to assemble your supplies:
  • jar
  • spray paint
  • initial cut from vinyl (No Silhouette- Print initial, tape the paper to Contact paper, then cut around the letter. The font I used was Forte which would be easy to do without a Silhouette.)
  • hot glue gun
  • rafia
  • 3 tiny shells
  • WD-40
  • rubbing alcohol
  • paper towel
  • painter's tape (optional)
  • piece of scrap paper (optional)
Don't be fooled by those clear labels, because they peel right off. Then prep the glass with WD-40 to remove the label gunk, of which this jar has plenty.


The good news is that WD-40 will do all, and I do mean a-l-l the work, so spray it on, rub it around to cover, then give it a minute before wiping the jar. That glue will be gone faster than Harry Potter can say, "Evanesco"! Then wipe off that residue with rubbing alcohol and a paper towel. Let the jar sit 10-15 minutes before painting to make sure it's 100% dry. Give it an extra look for numbers stamped directly on the glass, too. Alcohol takes those off but only if you see them before you paint. 

Now apply your initial, making sure there are no gaps or creases. If there are, paint will get under there, and you'll be using knifes, fingernails, Qtips, or something I didn't try, to clean it. See the pucker in the middle of my "M"? Don't do that. (No Qtips were harmed in the making of this votive, but fingernails...)


Time to spray! 

This is where the optional tape comes in. You can use tape or cover with a paper plate, chunk cut from a cereal box, aluminum foil, or fill it with newspaper. You just don't want the paint to get in the jar. 


I used the paper to turn the jar without touching it. I thought it was clever . . . until I dislocated my shoulder patting myself on the back.

I did light coats that dried quickly. I carefully peeled off the vinyl to check how it looked, 


painted another coat, and I had this: 


Time to beachify it. Yeah, that's what I said, "beachify".

I lined up 3 strips of raffia, cut the ends off to give me a clean line for glueing, then hot glued that end to the top of the jar. I wrapped the raffia around the top about 3 times and tacked the top edge down all the way around the rim.


I used a dollop of glue at the end and trimmed close to it. It blends in since it's the same color, but I'm sure you could conceal it more than I did. I was making this part up as I went.


I trimmed 3 pieces of raffia and glued shells to the ends.


Then I tied them together in a knot, being careful to have each shell hang at a different length, trimmed the ends right up to the knot, and glued it.


Added sand and a candle 


And looked for a home for my cute new votive 


*If the raffia side of the shells bother you, you could add another shell to that side, but I like it this way.

Now all that's left is a trip to the gym to work off that,
~ahem~ breakfast. 

Gael


Friday, June 27, 2014

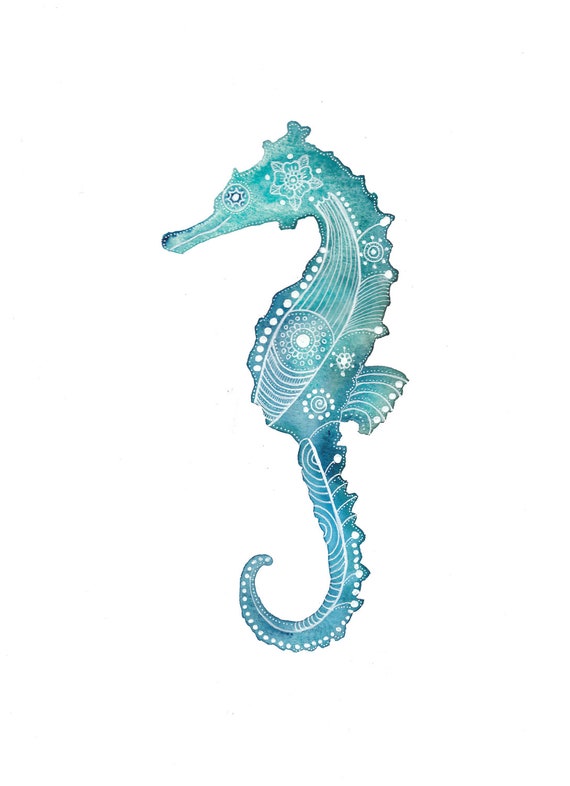
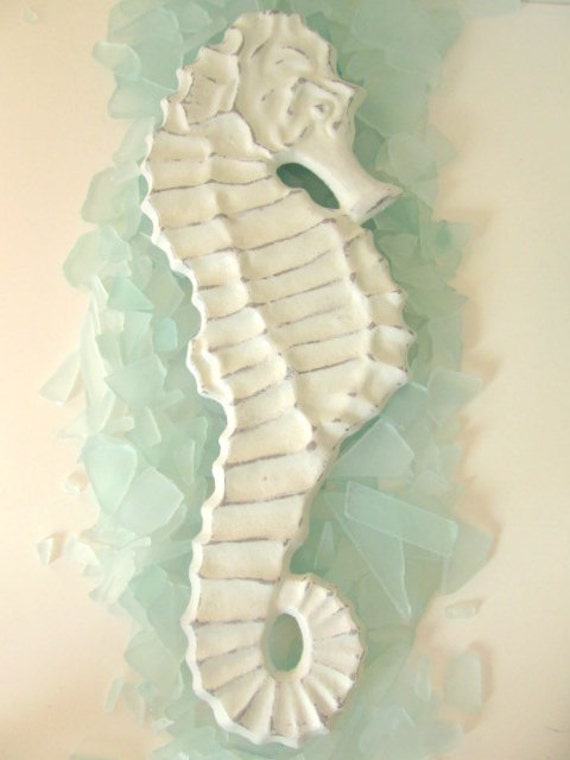
Today I am inspired by seahorses. I think they can be easily overdone, like ducks or cows in a kitchen, but I'm loving seahorses and am trying to decide how to bring at least one into my home. I know it's kitsch, but I like me some beachy kitsch!

 By MagMerlina at Etsy


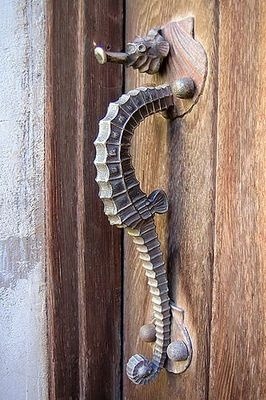
OK, now this guy isn't kitsch - How about that on your front door? Another Beach Cottage Dream.


Lastly, a picture is, as the cliché goes, worth 1000 words or a YouTube video. I think we have a DIY if you use regular sticks rather than drift wood. 


If you want to go all out and don't have access to driftwood, there's a tutorial at Craftiments showing how to turn your sticks to drift wood.

The only source I could find was loaded with ads to the point I couldn't in good conscience direct anyone there. The only tutorial was these pictures. (NOT the source listed in the photo which was a FB group) Both instances appeared not to be the original sources, though. 

What do you think? Are you feeling like inviting one of these little guys or his friends to your house? Are there seahorses prancing in your Beach Cottage Dreams? 

Thursday, June 26, 2014

These painted bottles from Poppytalk are just the color for my monogram idea I mentioned in the previous post, but the instructions are a Pinstrocity. I've tried just rolling paint around inside clean, dry glass, and I got streaks and uneven color.


Wednesday, June 25, 2014

I've been decorating with jars of sand and candles for 15 years, but I like this twist from Completely-coastal.com. (I couldn't link back to the lanterns directly, but you don't exactly need a tutorial for this.)


I wouldn't make it exactly like this but would tie 2 strands of jute around the jar like this jar from SnippetsOfCreations,


and attach shells dangling at the ends. I think my way would be easier, but mixing it up would really look great out on the deck. By the way, I'm digging the painted jar and am thinking Silhouette project and monogram instead of the heart - a reverse frosted glass. Think of the color and holiday possibilities! It makes me want to jump up and start right now, but I'm ice packing my back, so maybe tomorrow. 

Father's Day 2014

Father's Day means man food, sinful man food, but Sunday means Mom is tired and doesn't do too much cooking. The compromise was Cheddar Bacon Ranch pull apart bread by Stephanie Parker at Plain Chicken.


But, I was tired, remember? I disregarded her suggestion and wrestled with the sliced sourdough bread kids had snitched pieces out of to make this. Sorry Dad! I've done this both ways: with and without sliced bread, and probably the expert's way is easiest, not that this requires much, or any, culinary prowess.     


And there was certainly no time for staging the food for photos! This was his favorite picture, but his tennis racket hands make this look deceptively small. 


Every superhero needs a badge. I made this on my Silhouette and used double stick tape to attach it to a free button from a past fundraiser plucked from the trash, literally. After wearing it to church, he can pin it on his bulletin board at work.   


Then we gave Dad a Father's Day "Survival Kit" so he could sooth the stress of sitting on the couch and watching TV by munching on an assortment of empty calories. Some things had nuts, so there was a slight nod to nutrition, but let's not get silly, it's MY husband. If it's green and on his plate, it better be Key Lime or mint.


My Husband (Hm, wonder if I should give him a blog nickname like the Viking in honor of his fave team. lol) guarded his hoard like a dragon in his lair graciously allowed me to retrieve the basket for some fast shots for posterity. We scored those cute mustache clips at the Dollar Store along with lots of treats including yummy Dad's root beer creamsicles. 


The tag I made on my Silhouette Cameo. Every time I cut black vinyl I add Mickey heads in between whatever I'm cutting, so then I have some always ready to go for projects. The Viking (we'll see if I can keep up cutesy blog talk) is a Disney nut. We have annual passes and go just a little. ahem. No hating the FL residents! 

 One last Father's Day surprise! (window paints came from Dollar Tree) Too bad Dad had a migraine all weekend! No worries, he's got that annual pass, so I'll take him to see Mickey, and he'll be happy.

Wednesday, June 11, 2014

Teen Girl Room

After ongoing boundary disputes upstairs over den space vs girl bedroom, I have successfully negotiated a cease fire with aforementioned family space/den (encroaching on girl's privacy) to be forfeited in exchange for a neutral zone of storage while girl land is allowed room for expansion. After two years of the guys not actually using their agreed upon den space, their reservations have been cancelled! It's Girl World now! 

Here's the comforter set she chose from Walmart. We shopped around online and at several retailers, and I was surprised that Wally's had the one she liked the best. My checking account thanks her.


We're changing her room from pink and white cottage shabby chic, em-PHAH-sis on shabby, to teal white and black with some bright colors thrown in for accent (and because we're reusing pieces). All black, white, and teal might be a bit overwhelming in that space and not as bright and cheerful either. We're going with silver accents, too. 

We updated an old headboard with paint and vinyl. My daughter sanded & painted, picked out the graphic, and I cut the vinyl on my Cameo. We both love how it turned out, and I enjoyed working together on it.


For her desk area I made a framed chicken wire bulletin board. While that's pretty straightforward stuff, there are a few pointers to share. 


Supplies for this job included: 

  • old picture frame (already painted)
  • chicken wire 
  • staple gun and staples 
  • scrap styrofoam to pad frame (cardboard works) 
  • rustiest old wire snips I could find (rust was an            optional added bonus), 
  • Girl Scout sit-upon to protect knees 
  • cat hair confetti (also optional) 

First, snag someone else to do the painting. Your teenage daughter will do nicely. Then assemble all materials, making sure you're kneeling on the hardest subface imaginable, and call in a supervisor kitty to inspect the job site. 


Here's what the very edge of the roll of chicken wire looks like, and common sense dictates it's the easiest place to staple. I present Exhibit A as proof that, it ain't necessarily so. Where's the supervisor kitty when you need him? 


On a side note, I shot better the first time at the gun range than I did here with a staple gun.  Exhibit B:


I'm pretty sure I could load the gun faster than I figured out the staple gun, too. Now that our daughter is dating age my husband had a renewed interest in me handling a gun. It could be a coincidence.

Here's where my anal detailed side probably gets silly. This is going to have sharp edges, but I decided these sharp edges were bad as opposed to the others that were ...good? They were too close to the edge, so I curled them under using a screwdriver. That's to avoid getting torn up while hanging it. They could also scratch the wall. I'm not worried about scratching the walls where this will hang.  


If you want to protect your walls, just cover the ends in duct tape after you've stapled the chicken wire, and tack the tape in place with a handful of staples. If you have drywall, then I suggest this additional step, because I'm anal careful like that.


  See - not as close, flat to frame, & I was getting tired


Finished and awaiting styling! 


I trimmed the very outside edge of the frame in a light aqua and added a flower clip. I can't decide if I want to paint those clothespins or not. I'm hoping to get her desk area finished while she's at Grandma's house. 


 Had I known we were going to really do more than clean and get a new comforter, I probably ... still would've forgotten the before shots I was so busy when it all began. I'm trying to remember to  Take. That. Before. Shot. (The evidence can always be deleted. Shhh!) 

Projects we've begun or completed:
Headboard facelift
Chicken wire bulletin board
Painted cork board
Painted mod podge magnet board & magnets
Painting walls
Vinyl butterflies on glass lampshade (used Silhouette)
wire, light string, pictures, tulle wall (Her Tumblr wall)
Drop cloth as carpet cover 
New bedding
Ikea white Malm dresser
Paint 2nd desk drawers

To Do:
Paint chest turquoise 
Finish painting walls
Desk area - hang chicken wire board, bulletin board, magnet boards, etc.
Knobs on 2nd desk drawers 
Window coverings
Drape fabric over fluorescent light to soften