Monday, June 1, 2015

Easy way to shorten a Formal Prom Dress

So this has not a thing to do with the beach, but it was my idea after much searching the Internet and stressing over cutting into a formal dress. It came down to the day of the dance, and I had to put scissors to the dress. Maybe this can help another mom who thinks this project should be grounds for Valium or Xanax - not a whole bottle but 1 pill. But since that idea isn't likely to be very popular with your doctor, let me prescribe what I took to enable me to cope: Dr Pepper and chocolate. True Story. And what's more - it worked. I got in the groove and got it done without mishap.

My daughter had 2 formal dresses. One was purchased by her grandparents at the Mall of America, and they graciously paid for professional alterations. The length that was cut off was given to us, and I used it as a guide. A skirt or maybe even a round tablecloth could have sufficed. Having a rounded edge really helped. 

I had her put on the dress with her shoes and measured how much it needed shortened then went just a bit longer, I believe it was 1/2". I cans lined up the hem and pinned the front layer to the back along the edge so it wouldn't slip during cutting. I measured along the hem, but I honestly mainly eyed it as I laid the fabric scrap down as a cutting guide and weighted it with cans.


                 I used lots of cans to keep the slick fabric from sliding out of place.


     I lined it up until the curve was off or I was running out of cutting mat, whichever came first.


   I was able to do a large section, but as I got one shot at it, I did all of this slowly and carefully.


I used a rotary cutter and went slowly, smoothly, and pressed hard. There were places it didn't cut all the way through, so I'd suggest a brand new blade or just being prepared to do a little cutting here or there. Carefully pull the extra away slightly, so if you need to cut it will be smooth and blend right in.

Even though I was slow, careful, even methodical, this went quickly. It was a fabric that didn't require a finished hem, so cutting was all I had to do. In fact, had I tried to finish the edge, I would have had a fight not to have a mess. I experimented on the scrap and was very glad to leave the edge raw.

And here's the finished dress after my masterful cutting of the hem! Looks like we needed some masterful cutting of grass judging by the dandelions at her feet. 


The dress didn't actually drag on the ground. Really makes me wonder just how tall the landscaping, and I use that word loosely, was.


And the dress that donated the cutting guide - The top layer was a raw edged hem, but the bottom layer needed finished. I'm so grateful to my in-laws for not having to sew that!


Monday, February 2, 2015

So, that was quite the hiatus, but time flies when you're too busy to have fun! Nah! We always work in some fun, and by fun I mean time at Disney! Got to make sure those annual passes don't collect cobwebs. 

      Since Sept we've moved all the way across .....

                             the zip code! 

          Where we celebrated Halloween - 
 

                 Thanksgiving & Christmas 


   And we fought over this one gift. Yep, that's it. We were all so naughty that Santa left just one package. Santa happened to have a Silhouette Cameo and was pretty excited about cutting out Christmas shapes. 

After New Year's we joined cousins in a Grand Villa at Boardwalk - sorry, I can't tell you much besides it was TDF amazingly Mickey Mouse magical! My cousin, Laura, who works for Fairy Godmother Travel knows all about booking these, but this was booked using DVC points, a whole wazoo of points! How many is a wazoo? No idea, but nightly rates are more than our rent, so this 2,500 sq ft, 3 bed, 3 bath may not be as cost effective as 3 separate rooms, but who stays at Disney Deluxe resorts to save money? If that's your plan, you need a new accounting system. OK, I just have to show you this, because this is kind of incredible. See the 4th floor of the red building? That was all ours. All of it. The whole floor on this side. That's 5 balconies! (in the middle is one gigantic balcony) It was ALL ours. All.


Now here's the view that I didn't know existed at Disney, because it's different up there than down on the boardwalk. You can see EPCOT's Spaceship Earth and Illuminations fireworks from up there. Across the bay are Yacht and Beach Clubs.


Only because I never thought I'd step foot in one of these, am I posting pics here so the curious can have a peek! This is one of the largest Grand Villas at 2,500 sq ft. You start off with double doors and a sitting area outside. There's an additional door for the unit. I put the do not disturb sign out on the big door, forgot it was there, then wondered why Disney staff kept going to the small door by the 2Q bedrooms instead of the obvious, big doors. 


     Wherever you see windows is balcony space. Each bedroom has their own balcony.


                    And to wrap it up, nighttime shots from the end balconies -


And so everyone in the magical castle lived happily ever......no they didn't....they got forcibly ejected by reality and had to return to their humble homes and jobs and school, and they weren't happy about leaving at all but had lovely pictures and memories to take with them.


Thursday, September 11, 2014

Blog Interrupted

While I didn't have plans to reroof the house while growing organic vegetables and building my furniture, which I'd paint from a natural concoction I made of crushed leaves and berries AND blog it all with beautiful photography that would make Ansel Adams tear up... I DID think I was on the path of a few small crafts and homey projects I'd post with at least twice a week regularity. In fact, I have pictures from a few that I didn't post just waiting. They're nothing revolutionary, but they're mine. However, a bit of life interfered and has, most inconveniently, continued interfering. 

First, tech problems. If I can't get signed in, I can't post. It's pretty straightforward.

Secondly, my oldest son's medical needs have greatly increased. We'd found THE med for his arthritis, and he was doing Taiji, feeling energized, and walking with just a cane through Walmart. Then he got the flu, and he's more debilitated than ever and back in his motorized wheelchair. I can't leave him home alone for very long, and I'm spending lots of time caring for him and communicating with doctors. Obviously, this is top priority. 


Thirdly, we are moving. It came on pretty suddenly. We went from casually looking in preparation for selling next summer, to moving the timeframe up to Right NOW due to a possible sinkhole. Here's how that went down. My husband, who just isn't going to have a blog nickname, because the thought *gags* me - it works for some just not me - So Chris (For old SNL fans I'm technically a Pat, making us Pat & Chris) found a crack across the kitchen floor that I tried to Soft Scrub away. The issue is that it's in the middle of the house not toward an outer wall. Hm! It's about 3 1/2 ft long, and it appeared right after a corner of our deck sank and a side of our front porch dropped at least an inch. Add to that a window that won't close and sliding doors that won't open because the house has settled, and we accelerated the move and home search. We called the insurance who immediately connected us with the Sink Hole (eek!) department, so we really got packing!! We hadn't actually thought of a sink hole but were assuming erosion and foundation repair. We've had 2 people from insurance out, and we don't have a lot of answers. I really don't trust that they will do more than ascertain if it's a sink hole. The question of erosion and foundation repair probably needs to come from someone else, and I'm concerned about liability and selling, too. This is probably going to be a long process, especially as I can be pretty anal retentive, I mean, detail oriented. Bottom line is the worst case scenario is our family being killed from a home that collapsing in a sink hole. That being said, ANY other outcome is a WIN. When the big pieces of furniture move on the 20th, it's going to be a relief. I've let go of the money we've put into this house, because the insurance shocked us so with the words, "sink hole". The children at church sing, "The wise man built his house upon a rock..." and "The foolish man build his house upon the sand, and the house on the sand washed away." Take a guess at what's in OUR Florida yard!

The foolish man built this house upon the sandy hill, and it's washing away down the road. All that white sand is for our yard. To the right of my daughter is a driveway down to a garage, and there's another sand one up to the house you can't see, but there's the trail.


Monday, June 30, 2014

Painted Beach a Votive Jar

Painted Beach Votive Jar 
 (No Silhouette needed!)


I got this idea from a jar made by sisters-in-law, Kerri and Julie, of SnippetsofCreations, and I was excited to put my stamp on the whole painted jar trend that is all over blogland. I posted about it as it came to me, and I'm probably going to do that a lot. My intent is to transform my home and use this blog to keep ideas and motivation flowing. I may not have the time, energy, or desire to follow through with every idea I share. 


Painted Beach Votive Jar Tutorial

First you need a jar. For both shape and content deliciousness, let me suggest this. This jar does come with salsa or queso which are also rather tasty. I like the wide mouth and the height of this jar. Ball jars are great, but it's easier to escape 3rd degree burns with a Tostitos jar, and I can still use my Swan Creek votive candles instead of tea lights.

 Of course, this step necessitates this one:
 (Substitutions allowed)


and this
  and, finally, this one...

Now that you've had breakfast (and washed the jar), you're ready to go!  

You need to assemble your supplies:
  • jar
  • spray paint
  • initial cut from vinyl (No Silhouette- Print initial, tape the paper to Contact paper, then cut around the letter. The font I used was Forte which would be easy to do without a Silhouette.)
  • hot glue gun
  • rafia
  • 3 tiny shells
  • WD-40
  • rubbing alcohol
  • paper towel
  • painter's tape (optional)
  • piece of scrap paper (optional)
Don't be fooled by those clear labels, because they peel right off. Then prep the glass with WD-40 to remove the label gunk, of which this jar has plenty.


The good news is that WD-40 will do all, and I do mean a-l-l the work, so spray it on, rub it around to cover, then give it a minute before wiping the jar. That glue will be gone faster than Harry Potter can say, "Evanesco"! Then wipe off that residue with rubbing alcohol and a paper towel. Let the jar sit 10-15 minutes before painting to make sure it's 100% dry. Give it an extra look for numbers stamped directly on the glass, too. Alcohol takes those off but only if you see them before you paint. 

Now apply your initial, making sure there are no gaps or creases. If there are, paint will get under there, and you'll be using knifes, fingernails, Qtips, or something I didn't try, to clean it. See the pucker in the middle of my "M"? Don't do that. (No Qtips were harmed in the making of this votive, but fingernails...)


Time to spray! 

This is where the optional tape comes in. You can use tape or cover with a paper plate, chunk cut from a cereal box, aluminum foil, or fill it with newspaper. You just don't want the paint to get in the jar. 


I used the paper to turn the jar without touching it. I thought it was clever . . . until I dislocated my shoulder patting myself on the back.

I did light coats that dried quickly. I carefully peeled off the vinyl to check how it looked, 


painted another coat, and I had this: 


Time to beachify it. Yeah, that's what I said, "beachify".

I lined up 3 strips of raffia, cut the ends off to give me a clean line for glueing, then hot glued that end to the top of the jar. I wrapped the raffia around the top about 3 times and tacked the top edge down all the way around the rim.


I used a dollop of glue at the end and trimmed close to it. It blends in since it's the same color, but I'm sure you could conceal it more than I did. I was making this part up as I went.


I trimmed 3 pieces of raffia and glued shells to the ends.


Then I tied them together in a knot, being careful to have each shell hang at a different length, trimmed the ends right up to the knot, and glued it.


Added sand and a candle 


And looked for a home for my cute new votive 


*If the raffia side of the shells bother you, you could add another shell to that side, but I like it this way.

Now all that's left is a trip to the gym to work off that,
~ahem~ breakfast. 

Gael


Friday, June 27, 2014

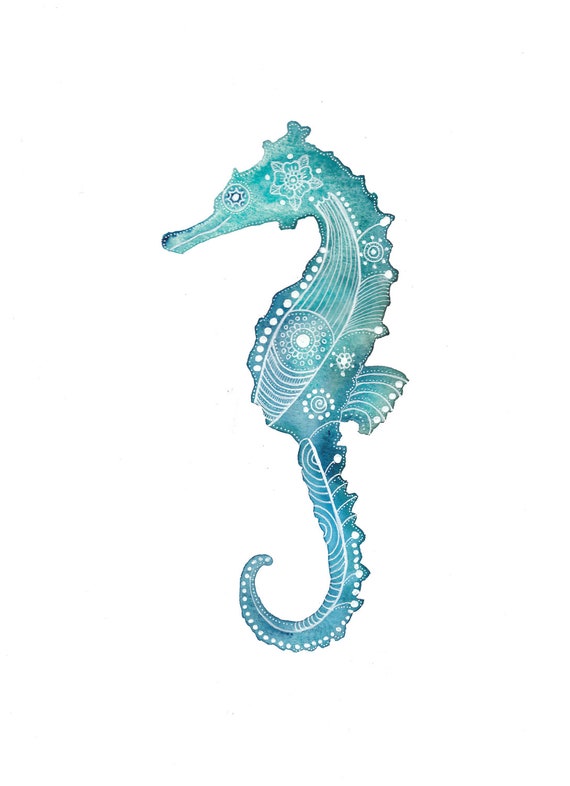
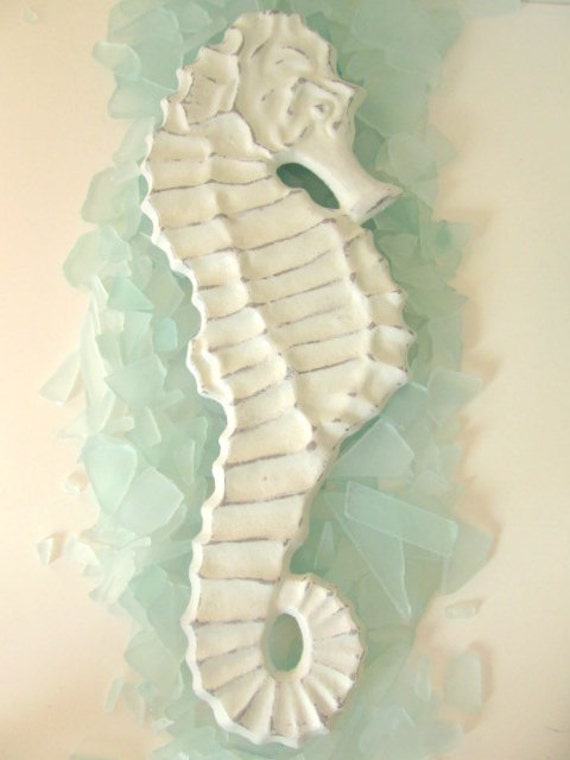
Today I am inspired by seahorses. I think they can be easily overdone, like ducks or cows in a kitchen, but I'm loving seahorses and am trying to decide how to bring at least one into my home. I know it's kitsch, but I like me some beachy kitsch!

 By MagMerlina at Etsy


OK, now this guy isn't kitsch - How about that on your front door? Another Beach Cottage Dream.


Lastly, a picture is, as the cliché goes, worth 1000 words or a YouTube video. I think we have a DIY if you use regular sticks rather than drift wood. 


If you want to go all out and don't have access to driftwood, there's a tutorial at Craftiments showing how to turn your sticks to drift wood.

The only source I could find was loaded with ads to the point I couldn't in good conscience direct anyone there. The only tutorial was these pictures. (NOT the source listed in the photo which was a FB group) Both instances appeared not to be the original sources, though. 

What do you think? Are you feeling like inviting one of these little guys or his friends to your house? Are there seahorses prancing in your Beach Cottage Dreams?